
Before renovating your ceiling, it is essential to have identified the origin of the water leak and to have implemented something to stop it.
A drying time, more or less long depending on the extent of the damage, must also be observed.
It would be futile to work on a wet surface.
The ideal is to bring a hygrometer to test the humidity level of the plaster of the ceiling, which should not exceed 10 to 12%.
1 - Remove the paint
Water dripping through the ceiling often causes blistering and paint peeling.
The first step is therefore to remove these elements using a spatula, scraping the surface to make them fall.
It is necessary to prepare the edges of the damaged area for a final result, clean and neat.
2 - Scratch deeply
Use a triangular scraper to scrape the edges and inside of the crack caused by water damage.
The idea is to remove anything that hinders or weakens the filling (photo B).
Tap around the damaged area with the handle of the spatula.
If the plaster sounds hollow, it must be removed.
You may have the impression of making things worse, as the crevasse risks being enlarged.
But this work is necessary for the rest of the operations and to ensure a lasting repair.
Read alsoHow to hang a pendant light?
3 - Dust the area
Remove the bulk of the plaster dust with a simple broom.
You can also use a vacuum cleaner with a narrow nozzle (squeegee) or a small brush.
To complete the dusting, wipe with a damp sponge to remove the finest plaster residue.
Let it dry for a few minutes.
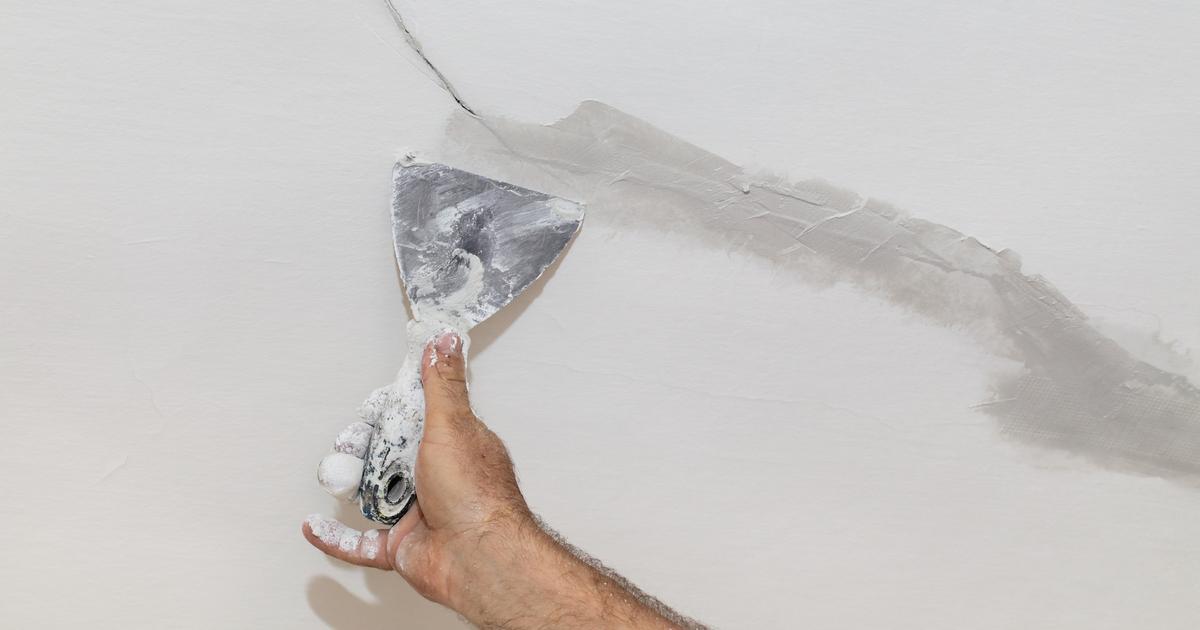
4 - Apply the coating
We used a somewhat special product for this article, since it is a paste, ready to use, able to fill deep cracks and holes.
Easier to use than a classic filler, it is applied with a filler knife.
Just fill the cavity and smooth everything well.
The drying time is very fast, which avoids waiting several hours.
For a perfect application, it is recommended to have very clean tools.
Read also5 natural ways to eliminate gnats at home
5 - Erase defects before painting
If properly applied, this filler eliminates the need for sanding.
However, a few small defects, which can be erased with fine grain sandpaper, may however persist.
Once this step has been completed, and after a brief dusting of the surface, it is then possible to apply the paint.
Our opinion
If the damage is not too significant and does not require the intervention of a professional, repairing a ceiling is not very complicated.
Especially if you use a paste coating, which is easier to handle than the powder coating, which must be mixed with water.
The operation takes little time and allows you to make great savings.
Remember to protect your furniture with tarps before you start.
SEE ALSO
- Real estate: how to negotiate the price with the seller?