
Over time,
cracks
often appear on
plaster ceilings.
In question ?
The expansion of the material, its laying glued to working wooden beams or even the movements of time.
To discover
LIVE- Death of Elizabeth II: follow minute by minute reactions to the death of the Queen of England
Invasion of ants in the house: what to do?
Step 1: Prepare the surface to be repaired
Before starting to repair a crack in a plaster ceiling, you should always dust and clean the ceiling of its impurities, even soap it if necessary.
Once the surface is clean, you can open the crack before filling it.
Read alsoHow to fix a cracked ceiling
Step 2: Open the crack in the ceiling
To seal a crack in the ceiling that is coming back or that has recently appeared, start by equipping yourself with a stepladder, a triangular scraper or a good cutter to remove all the small pieces of crumbling plaster.
You can thus open the crack to create a neat cut that has been cleaned of any residue.
The advantage of this maneuver is to then leave no room for air to infiltrate and thus avoid any movement of material that could create new cracks.
Read also Heat wave: drought responsible for major cracks in houses
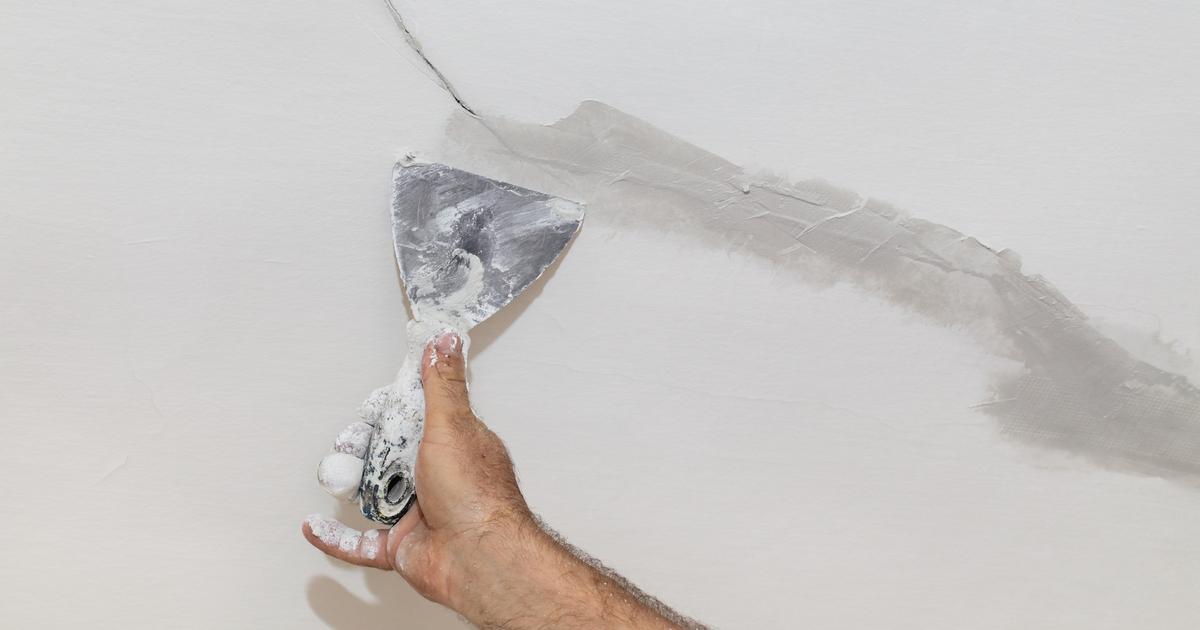
Step 3: Fill the crack with filler
Once the cracks in the plaster ceiling are open and after dusting and moistening your support, you can move on to filling.
It is carried out using a quality filler, suitable for plaster, and a spatula.
The coating must be applied evenly in and around the crack.
Read alsoHow to maintain and protect waxed concrete?
To know
Don't hesitate to use a nice amount of filler in order to completely fill the crack and not leave any air gaps, then remove the excess material to create a smooth surface.
Step 4: Apply a calico strip and finish coat
After smoothing the coating, if the crack is large, apply a strip of calico, pressing gently.
Once dry, you will need to sand the repaired area (with or without tape depending on the size of the crack) using fine grit sandpaper.
This step is essential for a perfectly executed rendering.
Read alsoDefective workmanship: what recourse?
You can then apply a second coat of coating, this time finer and lighter, for a completely invisible repair.
Once the second coat of filler is dry, gently and evenly sand the affected area until a flat, bump-free surface is achieved.
Step 5: Even out the ceiling
Your crack now filled and the coating completely dry, it only remains to paint the entire ceiling previously cleaned.
Use an undercoat and two coats of paint for this.
Read alsoOrganic paint: how to choose it?
If the ceiling is too damaged or reveals many rough spots, prefer the installation of a glass cloth, which will have the advantage of masking the defects, and which can be painted in the color of your choice.


/cloudfront-eu-central-1.images.arcpublishing.com/prisa/KMEYMJKESBAZBE4MRBAM4TGHIQ.jpg)