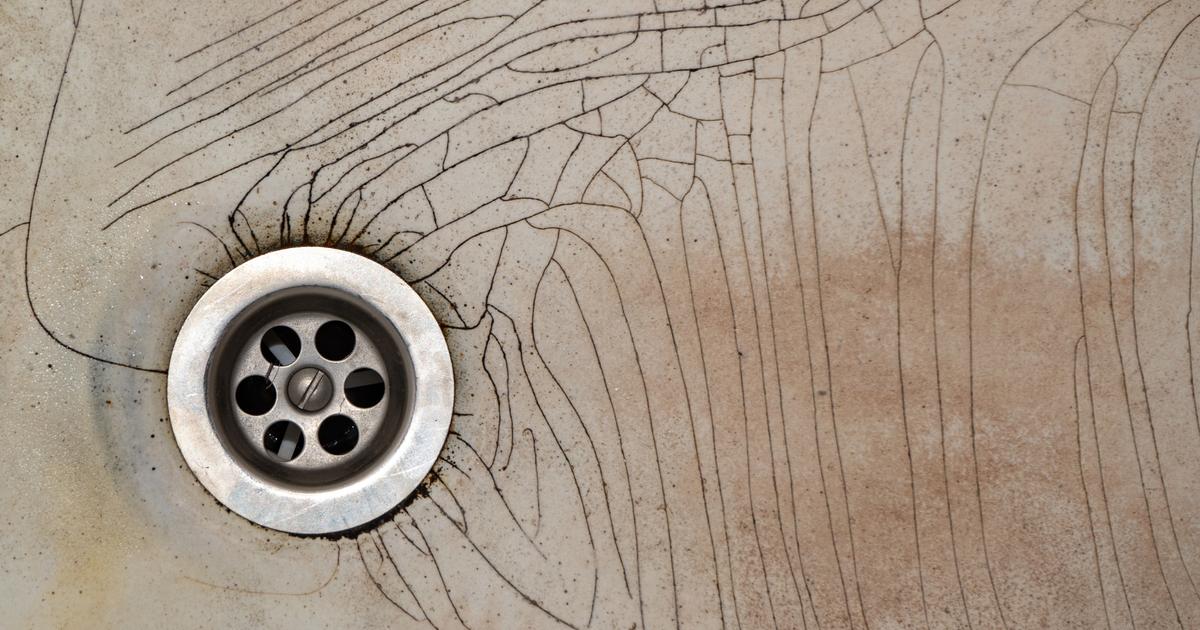
It is not always necessary to replace a damaged sink.
If the breach is not too significant, repair is often possible.
By carrying out this DIY operation yourself, accessible to all, you will greatly extend the life of your sanitary facilities for just a few euros.
Our advice for
repairing a cracked sink
in 5 steps.
To discover
What to plant, sow or harvest in March?
1. Preparations before repair
The necessary equipment
:
a spatula ;
a sponge ;
a cloth ;
an adjustable wrench;
a set of screwdrivers;
multi-grip pliers;
a small foam paint roller;
fine sandpaper;
white vinegar;
a two-component Epoxy resin kit;
Epoxy paint for sanitary facilities;
latex or nitrile gloves;
protective glasses;
a respiratory mask.
Dismantling the cracked sink
This step is not obligatory.
But to make it easier to access the area to be repaired or to work more comfortably, it is sometimes better to dismantle the cracked sink.
Cleaning and degreasing the sink
Rigorous cleaning using a conventional household product allows
the sealant to adhere
to the sanitary ware.
For degreasing, we advise you to use white vinegar, a natural product whose effectiveness is well known.
Once cleaning is complete, rinse and wipe the sink with a dry cloth.
Sanding the cracked sink and preparing the resin mixture
Sanding the cracked sink provides a rough surface, which makes it easier for the sealant to stick.
Sand the surface to be treated using your sandpaper.
Then clean your bathroom once again to remove sanding residue.
Epoxy resin generally consists of two components:
a resin and a hardener
.
Follow the manufacturer's advice for making the mixture.
Do not neglect to wear gloves, protective glasses and a mask, as this product is extremely toxic.
Installing the sealant
Using a spatula, apply
the epoxy resin
to the crack.
Then let dry according to the time recommended in the instructions for use.
Once the resin is completely dry, you can proceed to sanding the repaired area.
This will give you a smooth and uniform surface.
Keep your protective equipment on, because sanding residue is also very harmful.
Application of protective paint
The color of your paint may not be exactly the same as your sink.
If this is the case, the application of paint to the entire surface of the sanitary facility will be necessary.
You will therefore need to sand it completely so that it adheres correctly.
After cleaning the sink, all you have to do is apply a coat of
epoxy paint
to obtain an impeccable finish.

