
The inevitable wear and tear of a staircase over the years may require renovation to transform it into a real decorative element in your interior.
What is the budget for covering a staircase?
The budget varies depending on the type of wood used, the price of oak or beech not being the same as that of an OSB board (pressed and glued pieces of wood). Obviously, this choice can be imposed by the location of the staircase in the house. If it sits in the entrance or in the middle of the living room, it makes sense to turn to noble woods. We opted for plywood, which is durable and quite financially accessible.
Little price
This kit, sold for €129, consists of 13 rounded galvanized steel rails and 2 other pointed ones, 15 screws with wing nuts, a flexible chain element, 6 spacers for expansion joints and 2 addition wedges of matter.
wolfcraft.com/en
What are the assembly steps?
Assembling the template is really very simple, the concept being particularly well thought out. It takes a little time to understand how it works when taking the dimensions, but there is nothing very complicated. Its use does not require significant DIY knowledge. However, you must be concentrated and rigorous at all times during the process to obtain a truly perfect result.
1. Assemble the elements
It's a bit like a big Meccano game! The assembly of the different parts (rails, spacers for expansion joints, wedges, etc., see box opposite) is really not complicated. They are fixed together using toggle bolts, you will have no trouble handling them. The “
hardest
” part ultimately comes down to choosing the elements, to find those that are best suited to the shape of the walk.
2. Model the template
The idea is therefore to reproduce the perimeter of the step, by creating a template. It is not easy to have a compass in mind and to find the right length pieces the first time, especially in the most unusual parts of the staircase. Be patient with your first attempts, the assembly logic comes fairly quickly. Don't forget to place 2 or 3 spacers on the stair nosing rail, it's easier to transfer the shape to the board. Add a rail across the form and tighten all the nuts well to stiffen the structure and prevent it from deforming when handling it.
3. Report the route
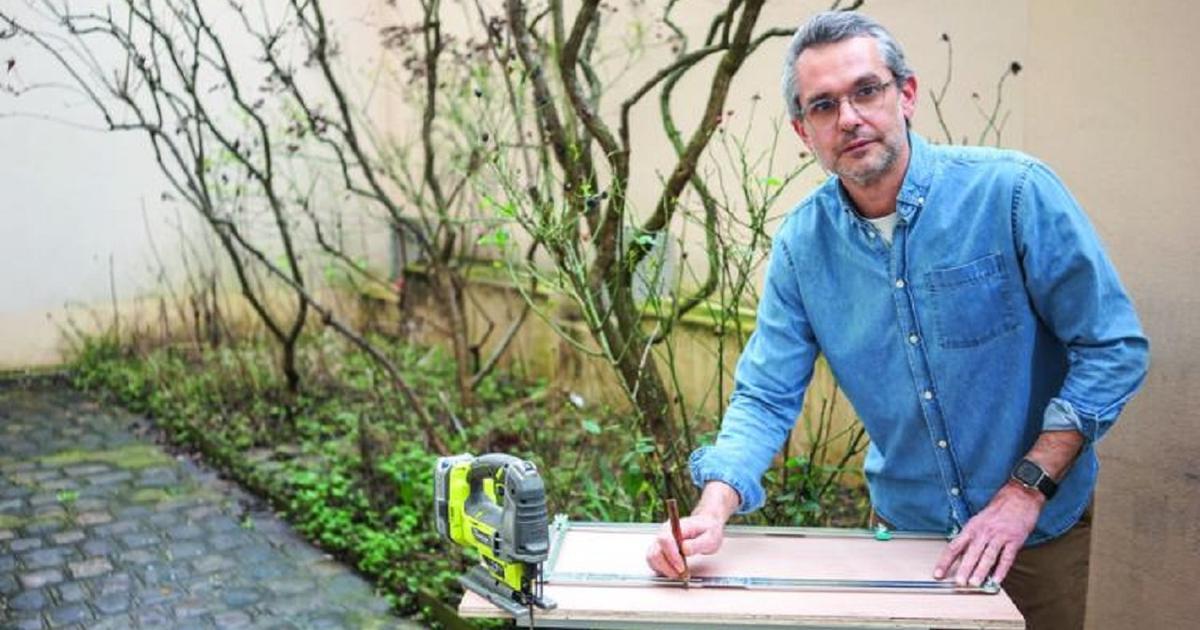
Before moving the jig, prepare your work space: attach the board to the workbench so that it is stable and keep the tools needed for the next steps nearby (pencil, jigsaw, etc.). Carefully lift the template out of the step. Then place it on the board, taking care to place the spacers on one of the sides. Trace the shape using a pencil.
4. Proceed with cutting
Mount a “fine cut” blade, suitable for cutting plywood, on your jigsaw. Follow the pencil outline, moving slowly to avoid gaps. Then wipe the edges with abrasive paper to remove splinters of wood and erase small imperfections.
5. Lay the step
To ensure good support, the walking surface must be clean and perfectly flat. The ideal is to sand, vacuum up the dust well and wipe with a sponge. Use a special glue to attach wood to concrete. Let dry.
Special pieces
The flexible chain element |
It is designed to fit rounded shapes, such as the central column of helical staircases. |
Pointed rails |
They allow you to reach narrow areas that conventional rails cannot access. |
Adapters for adding material |
They are fixed on the exterior rail to take into account the length of the step overhang. |
Spacers for expansion joints |
With humidity, heat and cold, wood can swell or shrink. It is therefore important to provide space so as not to hinder the effects of expansion. |