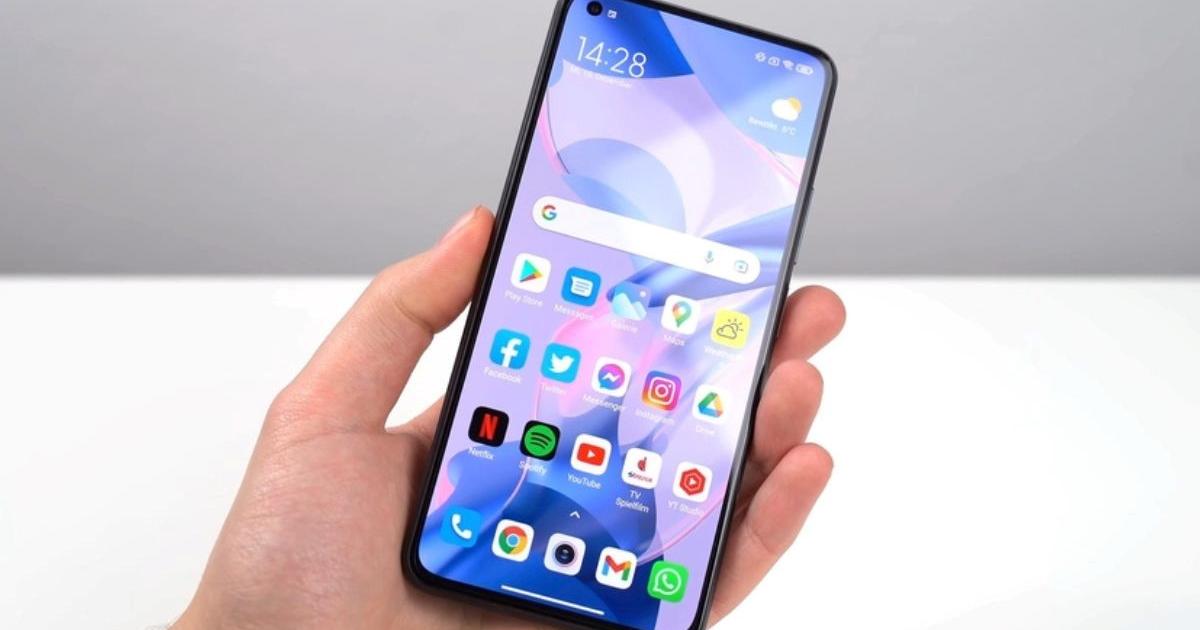
It is quite impressive what image quality current smartphones deliver, the sensors of their camera modules are often smaller than those of the compact cameras of earlier days. Internal image processing has made great progress in recent years and is now also used in machine learning techniques. This is called "Computational photography". The key to better images with small sensors is to virtually increase the effective sensor area.
For example, the billing of images from multiple camera modules leads to a higher image quality. Combining multiple exposures can also increase signal-to-noise ratio and sensitivity - a method the Huawai P30 uses to achieve the quality of a larger sensor. Another method is to combine images having different angles of view into one overall image, as is characteristic of panorama photography.
Do not tilt the phone
The automatic stitching of panoramic photos without additional software was and is not only in smartphones. As early as 2006, Kodak compact cameras were able to bill three frames for a 120-degree panorama. In 2010, Sony introduced the pano panoramas, for which it was only necessary to rotate the camera evenly. Instead of individual photos, a stream of video images is evaluated, from which the processor pulls out narrow, overlapping image strips and merges them into a panorama. The only disadvantage is that the resolution is reduced compared to a panorama of individual images in order to achieve a high frame rate.
The pan panorama method is also the standard for smartphones. The portrait format preferred by mobile photographers is useful here, because a horizontal pan also captures a large vertical angle of view.
You do not have to worry about the precise position of the parallax-free pivot point. He is consistently one to two millimeters behind the lens of the lens, and you do not have to know it. Nevertheless, it remains important to swing the smartphone around the parallax-free pivot so that subjects in the foreground as well as those in the background can be brought perfectly to cover.
The most important mistake to avoid would be to turn around the axis when panning with the mobile phone on the outstretched arm. Instead, you have to turn around the smartphone - or rather, the lens, which is often placed on the side rather than in the middle. With mobile phone mounts with tripod connection this is unfortunately in the middle and can not be pushed under the lens.
Furthermore, make sure not to tilt the phone while panning. Otherwise, the image angle would be partially shifted up or down, and the protruding image parts would be cut off, because the end result should indeed be a rectangular panorama. Because the exposure of most camera apps is measured when the shutter-release button is pressed and the camera does not adjust during panning, you should start with a 360-degree panorama of the subject whose exposure is most critical.
Back to the single picture
As fast and easy as you get with the pan-panorama function to a respectable result - you will not achieve the optimum image quality. Swivel panoramas are ideal, however, to spread them quickly through the social networks. Facebook recognizes panoramas automatically and presents them in such a way that you can navigate with the mouse or in the smartphone app by turning the mobile phone through the all-round view.
By contrast, using the traditional method of capturing overlapping frames that you merge in a panoramic software on the computer, you get full sensor resolution. You can also optimize the exposure for each shot. Since a panoramic view inevitably summarizes very different light conditions in one image, otherwise often some areas of the image are underexposed and others overexposed.
Recordings in DNG format, as supported by Lightroom CC, offer even more scope to improve the starting material for stitching. The latter is dominated only by the desktop version of Lightroom CC and Lightroom Classic CC with "Photo> Merging Photos> Panorama". This also avoids the banding, which is often seen in swivel panoramas.
It does not always have to be panoramic
The combination of individual images to an image with a larger image angle is still suitable for other applications than the classic panoramic photography. When it comes to panoramas, even the shortest focal lengths are not enough to cover the desired angle of view, which is why you combine several shots. In the Gigapixel photography, on the other hand, you deliberately work with long focal lengths, and the goal is not an extreme angle of view, but a high resolution. A third variant is the Brenizer method. Again, this is based on capturing the image angle to be imaged with multiple overlapping images, but the goal is to decrease the depth of field.
Since smartphones with multiple camera modules usually only allow the choice between a wide-angle and a normal lens, you can expect from the Brenizer method, no significantly improved bokeh. Combining multiple longer-focal length exposures rather than one short-focal length photo results in more pixels and higher image quality.
Of course, one prerequisite is that the subject does not move between shots. With several rows of DNG recordings, combined in Lightroom (Classic) CC, resolutions of 50 to 100 megapixels can easily be achieved.


