
Coming back from the beach, before entering or leaving the swimming pool, it is pleasant to rinse off with clear water.
A garden shower is also great for cooling off and avoiding soiling your interior.
To discover
This month in the garden: what to plant, sow or harvest in July?
July: what are the seasonal vegetables and fruits?
Its installation is not complicated.
The model used here is delivered in separate parts and without a base.
You can put it wherever you want (in a sunny area anyway), provided you have a water supply.
How to install a solar shower in 4 steps?
The Individual PRACTICAL LIFE • N ° 480 • July-August 2021
Fix the support on its base
Before you begin, you need to determine the future location of your shower.
It is possible to fix it directly on a concrete slab, provided you have the necessary material to be able to drill this type of coating (perforator with a special drill).
But if you intend to move it as you wish, opt for mounting on a wooden slab instead.
So that the base of the shower is stable and does not tip over, this slab must be large and heavy enough.
We chose a square grating with a side of one meter that weighs almost 20 kg (see Spotted on the shelf).
Read also: Smaller, transformable, the pool is reinventing itself
Using a drill fitted with a wood drill bit (12 mm in diameter), drill it using the base of the shower as a guide (photo A).
Once the four holes have been made, slide in the fixing screws (supplied) to secure everything.
Mount the faucet
This shower kit is made up of several elements that must be assembled together, starting with the taps.
The adjustable knob is screwed by hand on the upper part (photo B), while the small tap for rinsing the feet is positioned on the base already attached to the grating.
The operation is very easy to implement and only takes a few minutes.
Assemble the column
This is an important step because it brings together the lower and upper parts of the shower column.
Again, you can dispense with tools.
Once the two parts are nested one in the other, use the big screw wheel to join them (photo C).
Be careful, however, not to forget to install the seal.
Connect to the water supply
The foot of the shower is connected to running water by means of a garden hose (photo D), so there is no difficulty in making the connection.
Read also: The booming outdoor furniture market
Then all you have to do is open the tap and wait a few minutes for the tank integrated into the shower column (here with a capacity of 20 liters) to fill.
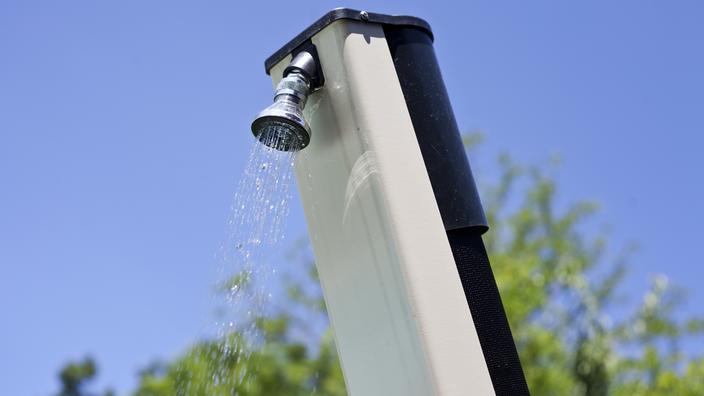
The water can then flow through the pommel.
Rinsing
The capacity of the hot water tank (20 liters) is sufficient to rinse briefly after swimming or sports.
The sun's rays will heat it (up to 60 ° C), provided you wait at least 2 hours if the shower is well exposed.
Hence the importance of its location!
A classic mixer allows you to adjust the water temperature.
Read also: How to install a rainwater collector?
Our opinion
: this is a simple and very affordable solution to equip yourself with an outdoor shower. We preferred not to fix it permanently in order to be able to change it easily and store it in winter. Note that there are models with larger tanks (the investment is then higher).